
Last updated October 30, 2026
 Wrought iron
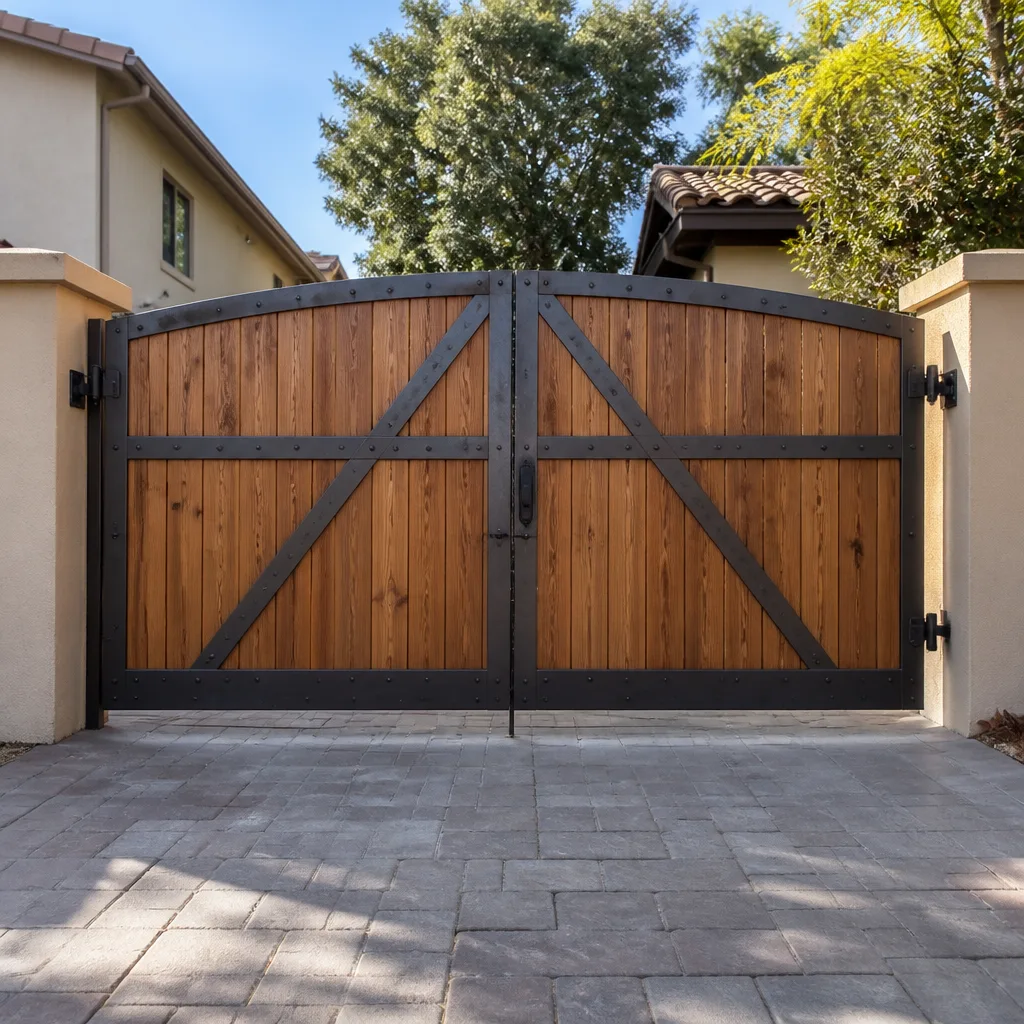 Wood & steel frame
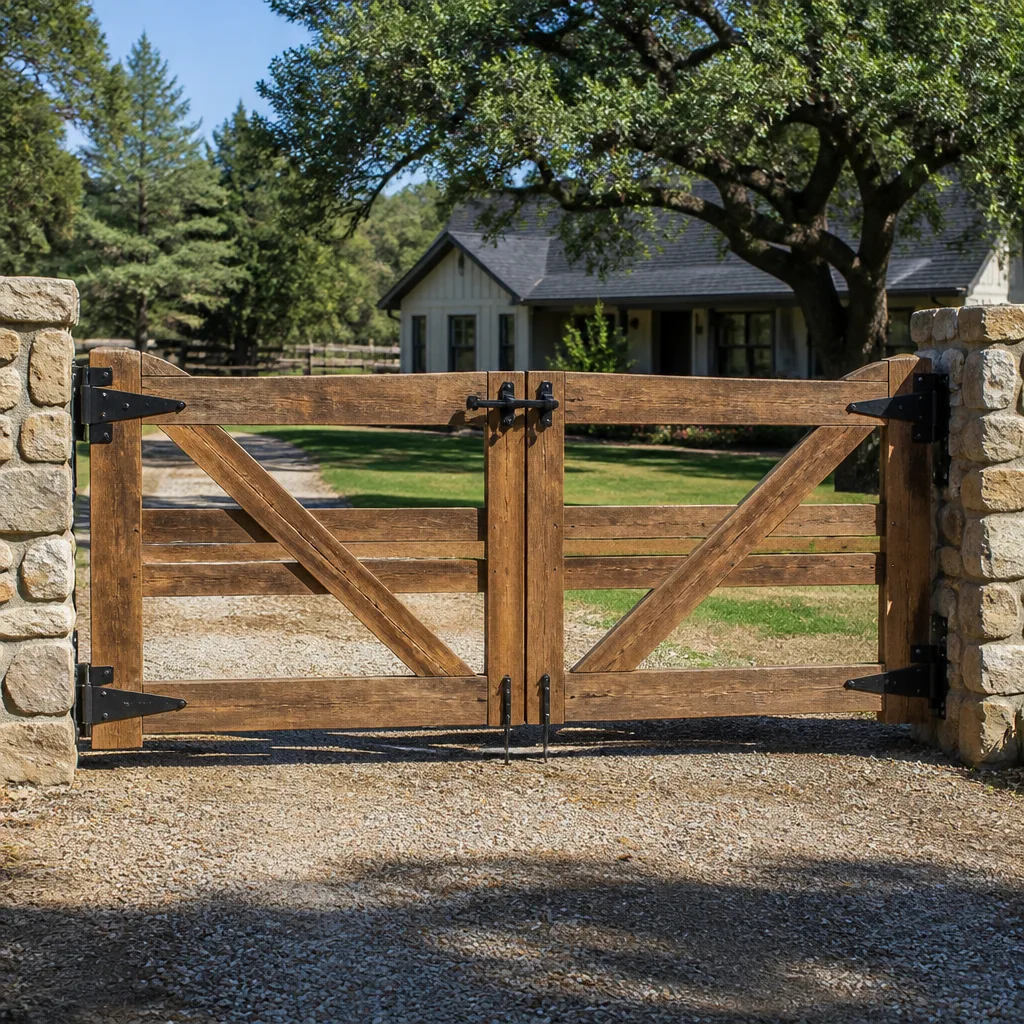 Farm & ranch
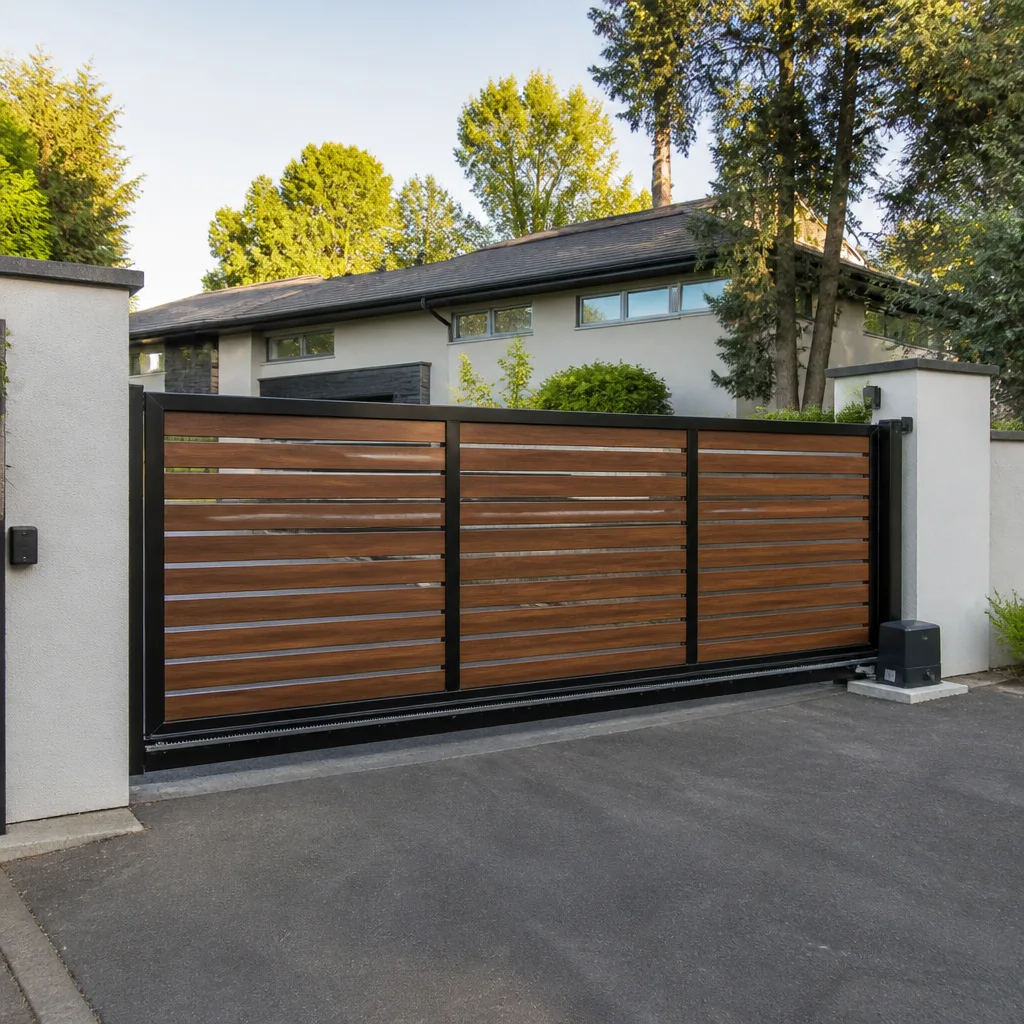 Sliding driveway gates
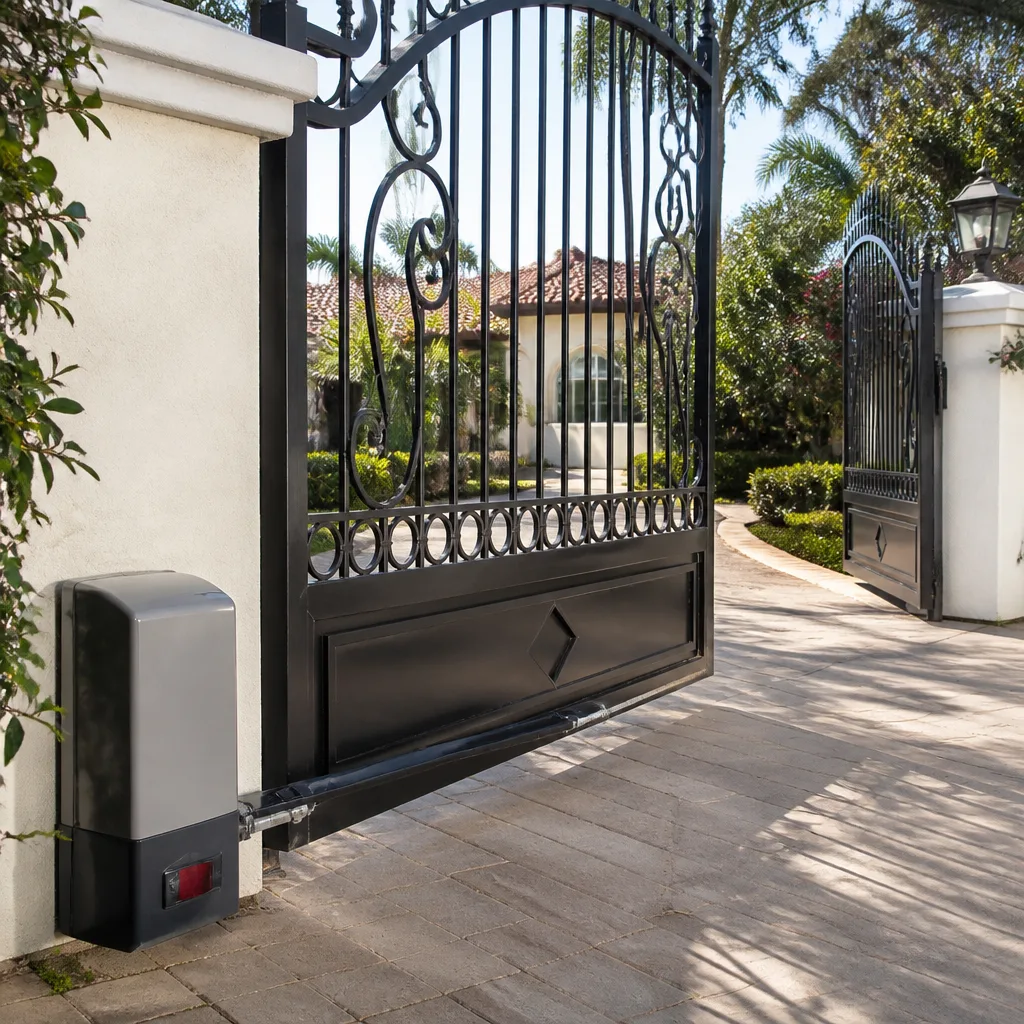 LiftMaster operators
Free on-site gate assessment - hinges, posts, and your LiftMaster or Nice gate operator checked before anything is quoted
The assessment is free and the quote is the invoice.
Get your free estimateGate Repair Troubleshooting: Common Problems and How to Fix Them
A gate that stops mid-swing isn’t a motor problem. It’s almost always a safety loop or obstruction sensor doing exactly what it’s designed to do, and resetting the motor without addressing that will burn it out within months. Most homeowners misread gate symptoms because they diagnose at the failure point (the gate that won’t open) instead of working backward through the system’s logic chain from power to signal to mechanical output. This guide teaches symptom-to-source reasoning, not a list of fixes. We’ve applied this same diagnostic framework to hundreds of gates across San Diego through our Gate Repair services, from manual driveway gates in Rancho Santa Fe to commercial electric operators near the coast. By the time you finish reading, you’ll know which layer of the system has failed, what that failure looks like, and which fixes are safe to attempt yourself versus which ones need a trained technician.
Styles & brands we work with
Quick Answer
Gate repair troubleshooting works when you diagnose in three layers: power supply first, then control and signal, then mechanical movement. A gate that won’t open is usually a power or sensor issue, not a motor failure. A gate that opens but moves poorly is mechanical. If you’re not comfortable testing voltage or checking wiring, call a gate specialist in San Diego at (833) 589-8195 before replacing parts you don’t need, or review our How to Hire a Gate Repair Contractor in San Diego: A Step-by-Step Guide to find qualified help.
Table of Contents
- The Three-Layer Diagnostic Framework
- Symptom: The Gate Won’t Open at All
- Symptom: The Gate Stops Mid-Swing
- Symptom: The Remote Stopped Working
- Symptom: The Gate Moves Slowly or Jerks
- Sensor Failures: Loop Detectors, Photo Eyes, and Edge Sensors
- Why Intermittent Failures Are the Hardest to Diagnose
- How to Safely Test a Gate in Manual Mode
- Common Mistakes to Avoid
- When to Call a Professional
- Frequently Asked Questions
- The Bottom Line
The Three-Layer Diagnostic Framework
Every gate failure, no matter how strange it looks, belongs to one of three layers. Diagnosing correctly means ruling out each layer in order, because skipping ahead is how you end up replacing a $400 control board when the real issue was a corroded wire nut. We use this framework on every call, whether it’s a LiftMaster operator in a San Diego hillside community or a FAAC hydraulic system at a commercial property.
Layer 1: Power Supply. The gate gets electricity from the house panel, a dedicated subpanel, a battery backup, or solar. If the operator has no power at all, nothing else matters. Test this layer first. A tripped GFCI outlet, a breaker that looks on but has tripped internally, or a corroded wire at the junction box all present as “dead gate.” In San Diego, coastal salt air accelerates corrosion on exposed connections, so a gate that worked fine in June may be dead by October simply from oxidation at a terminal block.
Layer 2: Control and Signal. This is the layer that tells the gate what to do. It includes the control board, remote receivers, keypads, loop detectors, safety sensors, photocells, and all the low-voltage wiring between them. Control layer failures are the most common and the most misdiagnosed. A gate that refuses to close is often not a motor problem but a photo eye that’s misaligned or a loop detector that thinks a car is sitting on it.
Layer 3: Mechanical Output. This is the physical gate itself: hinges, wheels, chains, belts, limit switches, and the motor or hydraulic pump that drives movement. Mechanical failures are usually the easiest to identify by sight and sound. A gate that grinds, scrapes, or moves unevenly has a mechanical issue, not an electrical one. The catch is that mechanical problems left untreated become electrical problems, because a gate fighting its own hardware draws higher amperage and eventually fries the control board.
The order matters. Power first, then signal, then mechanical. Most DIY attempts go straight for the mechanical layer because it’s visible. That’s why so many homeowners replace motors that were never the problem.
Symptom: The Gate Won’t Open at All
A completely dead gate, where nothing happens when you press the remote, enter the keypad code, or hit the manual open button, is a power or control issue almost every time. Here’s the step-by-step diagnosis we’d run on a typical San Diego residential gate:
- Check the breaker and GFCI. The gate outlet is often on a GFCI circuit shared with outdoor lighting or pool equipment. If the GFCI tripped, the gate has no power and nothing else matters. Reset it once. If it trips again, there’s a ground fault in the gate wiring, not a breaker problem.
- Look at the operator’s indicator lights. Most operators, including LiftMaster and BFT models, have diagnostic LEDs on the control board. If the board has power but the gate won’t respond, the LED pattern tells you whether it’s a safety input, a limit switch, or a receiver issue. We keep a mental library of blink codes for the brands we service, because a LiftMaster code means something completely different from a FAAC code.
- Test the manual release. Every electric gate has a manual release mechanism, usually a keyed handle or a pull chain. If the gate moves freely in manual mode, the mechanical layer is fine and you’re dealing with power or signal. If it won’t move in manual mode, the problem is mechanical regardless of what the electronics say.
- Check the battery backup. Many San Diego gates have battery backup for fire-code compliance or security. A dead battery can sometimes cause the operator to refuse to run even when AC power is present, especially on Linear and DoorKing systems. Look for a battery warning LED or test the battery voltage if you’re comfortable with a multimeter.
The most common cause of a totally dead gate we see in San Diego is a GFCI outlet that tripped during a rain event or a power surge. The second most common is a control board that took a hit from those same surges. If you’re not sure, electric gate repair in Rancho Santa Fe starts with this exact diagnostic sequence, so the fix is usually faster than the diagnosis was.
Symptom: The Gate Stops Mid-Swing
A gate that starts moving and then stops, or one that reverses direction mid-cycle, is telling you that a safety input is active. This is the single most misdiagnosed symptom in gate repair, as covered in our Gate Repair Warning Signs: A San Diego Homeowner’s Reference Guide, because it looks and feels like a motor problem. It isn’t. The motor is doing exactly what the control board is telling it to do: stop because a safety device reports an obstruction.
Here’s what’s actually happening in each scenario:
- Loop detector false positive. A loop detector is a wire buried in the driveway that senses metal (cars) above it. When it fails or gets out of adjustment, it tells the control board “car present” even when the driveway is empty. The gate stops or reverses because the board thinks it’s about to hit a vehicle. This is the most common cause of interrupted gate travel in San Diego driveways.
- Photo eye obstruction or misalignment. Photo eyes are the small sensors mounted on the gate posts near ground level. If they’re dirty, misaligned (one got bumped by a trash can or a gardener’s cart), or the beam is broken by a leaf or spider web, the gate will stop closing and usually reverse to open. Clean the lenses and check alignment before doing anything else.
- Edge sensor activation. Edge sensors are pressure-sensitive strips on the leading edge of the gate. If they get physically damaged, waterlogged, or the wire inside breaks, they can send a constant “obstruction” signal. On some systems, this presents as a gate that opens fine but won’t close, or closes an inch and stops.
- Limit switch drift. On older mechanical limit switches, repeated operation causes the switch positions to drift. The gate thinks it has reached the open or closed limit when it hasn’t, so it stops early. This is most common on chain-driven slide gates and older swing gate operators.
If your gate is stopping mid-swing in San Diego, the first thing to check is whether the photo eyes are aligned and clean, and whether anything metal (a car, a trash bin, a delivery truck) is parked over the loop detector at the driveway entrance. If both are clear, you likely have a failing loop detector or a damaged edge sensor, and that’s a component-level repair.
Symptom: The Remote Stopped Working
“The remote stopped working” is the single most common phone call we get from San Diego homeowners. What most people don’t realize is that the remote itself is rarely the problem. There are five wiring and signal faults that account for the vast majority of these calls, and one of them involves a landscaper’s irrigation wire.
The Five Common Remote Failure Causes
- Receiver antenna damage. The operator’s receiver has a small antenna wire, often tucked inside the housing. If that wire is damaged, pinched, or has fallen against a metal surface inside the operator, the range drops from 50 feet to 5 feet or zero. This presents as “the remote stopped working” but it’s actually the receiver that went deaf.
- Irrigation wire interference or damage. San Diego properties with automated irrigation systems often have low-voltage irrigation control wires running near the gate operator. Landscapers trenching for new irrigation lines sometimes cut through gate receiver wiring, or the irrigation controller’s signal interferes with the gate receiver. We’ve diagnosed more than one “dead remote” where the fix was repairing a wire cut by an edging tool or a new planting bed excavation.
- Keypad wiring corrosion. Many gates have a keypad on a pedestal near the driveway. The pedestal is exposed to sprinkler overspray and coastal salt air. When the keypad’s wiring corrodes, it can send a continuous signal to the control board that overrides the receiver, making remotes appear dead even though they’re transmitting fine.
- Frequency drift on older receivers. Older gate receivers can drift off-frequency over years of temperature cycling, especially in San Diego’s hot inland summers and cool coastal mornings. The remote and receiver stop talking to each other. Re-flashing or replacing the receiver usually fixes it, often without touching the remote itself.
- Remote battery and button failure. Yes, sometimes it actually is the battery. But before you assume this, press the button and watch for the remote’s LED. No LED means battery. LED present but gate doesn’t respond means the problem is system-side, not remote-side.
If you’ve replaced the battery, checked that the keypad still works (if it does, the receiver and control board are fine), and the remote still won’t function, the issue is almost certainly in the receiver or the wiring between receiver and board. A gate specialist can isolate that in about 20 minutes with a multimeter and a spare remote. The Cambridge Gate Repair home service area covers all of San Diego County, so we see these remote failures daily.
Symptom: The Gate Moves Slowly or Jerks
A gate that moves slowly, jerks through its travel, or groans as it opens has a mechanical layer problem. The electronics are commanding normal operation, but the physical gate is fighting resistance. Left untreated, this resistance compounds because the motor draws more current to overcome it, which generates heat, which degrades the windings and eventually kills the operator.
Here’s what we look for on a slow or jerky gate in San Diego:
- Hinge wear on swing gates. Gravity is relentless. A heavy steel or iron gate hanging on worn hinges begins to sag, which shifts the gate’s center of mass and makes the operator work harder. You’ll hear a scraping sound as the gate drags on the ground, or see a visible sag at the far post. Hinge replacement is usually straightforward and far cheaper than a new operator.
- Post lean. The gate post itself can lean out of plumb over time, especially in San Diego’s expansive clay soils that shrink and swell with moisture. City of San Diego building codes require proper post depth and concrete footings for automated gates, but older installations were often done without engineering. A leaning post changes the gate’s swing geometry and can bind the operator.
- Track or roller obstruction on slide gates. Slide gates run on a steel track with wheels or a cantilever system. Debris in the track, worn wheels, or a track that’s been shifted by tree roots or erosion will cause the gate to jerk and bind. This is especially common in San Diego neighborhoods with mature trees and older hardscape.
- Chain or belt tension issues. Chain-driven operators need proper tension. Too loose and the chain can jump the sprocket. Too tight and the motor strains. The chain should have about a half-inch of deflection at its midpoint. Over-tensioned chains are one of the most common causes of premature operator failure we see on older gates.
- Undersized operator. Sometimes the operator was never right for the gate. If a previous homeowner installed a light-duty operator on a heavy ornamental gate, the system has been working at the edge of failure since day one. We see this on older San Diego estates where the gate was automated years after the original build, and someone installed whatever opener was cheapest.
- The gate opens but refuses to close (detector thinks a car is still there).
- The gate closes on a car (detector has stopped sensing entirely).
- The gate opens and closes without any car present (detector is false-triggering due to nearby metal or damaged insulation).
- Turn off the operator’s power first. Find the breaker or disconnect switch for the gate operator and switch it off. This prevents the motor from activating while the gate is in manual mode. Never disengage the manual release while the operator has power.
- Locate the manual release. On most operators, this is a keyed cylinder, a pull handle, or a release lever on the side or underside of the housing. LiftMaster and Linear operators usually have a red release handle. FAAC and BFT models may have a keyed release. If you can’t find it, the operator’s manual shows the location.
- Disengage the operator. Turn the key or pull the handle as directed. You should feel or hear the drive disengage. The gate is now free to move manually.
- Move the gate slowly by hand. Walk it through its full travel from closed to open and back. Pay attention to resistance. A gate that moves smoothly by hand but won’t move under power has an operator or control issue. A gate that’s stiff, scraping, or binding by hand has a mechanical problem: hinges, wheels, track, or post alignment.
- Check for free play and sag. At the fully open position, try to lift the gate slightly or push it side to side. Excessive movement indicates hinge wear on swing gates or roller/wheel wear on slide gates.
- Re-engage the operator. Move the gate back to its closed position, re-engage the manual release per the manufacturer’s instructions, and restore power. Test the gate with the remote. Some operators need a full cycle to re-learn their limits after being in manual mode, so don’t panic if the first cycle is slow or incomplete.
- Replacing the motor before checking power. Most “dead” gates have no power, not no motor. Replacing a $600 operator because the GFCI tripped is an expensive way to learn basic electrical diagnosis. Check the outlet, breaker, and any inline fuses first.
- Resetting the control board repeatedly. If the board is throwing an error code and you reset it to make the error go away, you haven’t fixed anything. You’ve temporarily cleared a symptom. The fault will return, and each reset cycle builds stress on components already on their way out.
- Adjusting the battery or bypassing safety sensors. Disabling a photo eye or loop detector to force the gate to close is both dangerous and against San Diego County building code. A gate that closes on a person or a car creates liability you do not want. Fix the sensor, don’t bypass it.
- Ignoring a gate that moves slowly. A slow gate is a gate drawing excessive current. That extra current generates heat in the operator, and heat is what kills motors and control boards. A slow gate is a warning sign, not a personality trait.
- Using the wrong lubricant on hinges and tracks. Spraying WD-40 or penetrating oil on gate hinges attracts dust and creates a grinding paste, especially in dry San Diego conditions. The right lubricant is a lithium-based grease for hinges and a dry silicone spray for tracks and rollers.
- Assuming the remote is the problem. Remotes are the most commonly blamed and least commonly failed component in gate systems. If a new battery doesn’t fix it, the issue is almost certainly in the receiver, the antenna, or the wiring between them.
- Calling a general handyman for gate repair. A gate is a specialized system combining electrical, mechanical, and safety components. A general handyman may be able to replace a hinge, but diagnosing a ghost intermittent fault or a loop detector issue takes someone who works on gates every day. This is the difference between fixing the problem and just making the gate move again temporarily.
If the gate moves smoothly in manual mode but struggles under power, the operator is undersized or failing. If it’s difficult to move manually, the problem is mechanical regardless of what the motor does. That distinction saves hours of misdiagnosis.
Sensor Failures: Loop Detectors, Photo Eyes, and Edge Sensors
Three safety device types protect every automated gate, and each fails in a distinctive way. Knowing the difference saves you from replacing a motor that was never broken. In our experience, the loop detector is the most commonly misdiagnosed component on San Diego gates, because its failures mimic motor problems so convincingly.
Loop Detectors. A loop detector is a coil of wire buried under the driveway surface, connected to a detector module inside the operator. It creates an electromagnetic field that senses metal objects (cars) above it. When a car approaches, the detector tells the gate to open. When the car passes, it tells the gate to close. Loop detector failures present in three ways:
The first presentation, gate opens but won’t close, is the one homeowners misread as a motor or control board failure. It’s almost never the motor. The loop detector is telling the board there’s a vehicle on the loop, so the board correctly prevents the gate from closing. The fix is usually detector adjustment or loop replacement, not a new operator.
Photo Eyes. Photo eyes are the infrared sensors on the gate posts. They create a beam across the gate opening. If the beam is broken, the gate won’t close and will reverse if closing. Photo eye failures are usually obvious: dirty lenses (common in dry, dusty San Diego summers), misalignment from a bump, or physical damage to the sensor housings. Clean them first, check alignment second, and test for electrical continuity third.
Edge Sensors. Edge sensors are the physical pressure strips on the leading edge of the gate. They’re the last line of defense if the gate is closing on something. Edge sensor failures present as a gate that closes partway and reverses, or one that won’t close at all because the sensor is sending a constant obstruction signal. Water intrusion is the usual culprit, especially after San Diego winter rains when aging edge seals have failed.
The takeaway: if your gate’s behavior involves refusing to close, or stopping and reversing, think safety sensors before you think motor. A gate repair in Rancho Santa Fe call starts with this exact logic because it narrows the problem to the control layer in minutes rather than hours.
Why Intermittent Failures Are the Hardest to Diagnose
Intermittent gate failures are the bane of every homeowner and every technician in San Diego, because the gate works fine every time the technician arrives and fails the next morning. These are not random. Something is changing, and identifying what changes is how you find the fault. Here’s what to log before you call a repair company:
Temperature. San Diego’s temperature swings between the coast and inland valleys are significant. Control boards have components that expand and contract with temperature, and cracked solder joints or failing capacitors often only misbehave at one end of that range. A gate that fails on hot afternoons but works in the morning points to an overheating component or a thermal protection circuit cutting out.
Time of day. A gate that fails at 7:00 a.m. and 6:00 p.m. but works all day is often tied to landscape lighting or irrigation timers. Shared circuits, voltage drops when those systems activate, and RF interference from metal halide or LED lighting drivers can all cause intermittent gate behavior. We’ve traced San Diego gate failures to exactly this pattern more times than we can count.
Battery voltage. On systems with battery backup, a battery that’s on its way out doesn’t fail cleanly. It fails when the temperature drops, or when the battery has been charging all day and then can’t hold voltage under load. Logging whether the failure happens on grid power or battery power is one of the most useful pieces of information you can give a technician.
Rain or irrigation cycles. Water intrusion into wiring junctions, keypads, or sensor housings can cause failures that appear days after the rain event, when corrosion has had time to spread. San Diego’s summer irrigation season is just as hard on gates as winter rain, because sprinkler overspray is a daily event.
Write down the date, time, temperature, and what the gate did. That log will save your technician hours and you money. Intermittent faults are solvable; they just need data, not guesses.
How to Safely Test a Gate in Manual Mode
Before you attempt any diagnosis, learn how to put your gate into manual mode. This is not a dangerous procedure when done correctly, but it requires caution because the gate itself is heavy and can move unexpectedly if power is restored while it’s disengaged. Here’s how to do it safely on most residential gates:
This test separates the mechanical layer from the power and control layers in under ten minutes. The result tells you exactly which direction the repair needs to go, and that knowledge alone often saves you from paying for unnecessary parts. If the gate is too heavy to move safely by hand, don’t force it, that’s information too: the mechanical layer has failed badly enough that gravity is holding the gate in place.
Common Mistakes to Avoid
When to Call a Professional
Some gate repairs are genuinely safe to attempt yourself: replacing remote batteries, cleaning photo eye lenses, clearing debris from a slide gate track. Others are not. If you’re dealing with high-tension springs on a manual gate, any repair involving the operator’s internal wiring, loop detector replacement (which requires cutting the driveway), or a gate that’s heavy enough to injure someone if it slips, call a professional. The risk-to-reward math doesn’t work in your favor.
We see too many San Diego homeowners spend $300 on a replacement motor from a big-box store, install it, and discover the real problem was a $90 loop detector or a corroded wire nut. The diagnostic time a gate specialist brings to the job pays for itself in avoided parts and unharmed equipment. Cambridge Gate Repair offers free estimates in San Diego. Call (833) 589-8195 and have a technician run the three-layer diagnostic before you buy a single part.
Frequently Asked Questions
Most gate repairs in San Diego run between $150 and $500 depending on the component affected, with simple fixes like sensor realignment or remote reprogramming at the lower end and control board replacement at the higher end. The price is quoted and agreed before any work starts, so you won’t get a surprise invoice. Call (833) 589-8195 for an exact quote, estimates are free.
In most cases, yes. Power supply issues, remote failures, sensor misalignment, and mechanical binding on hinge or track systems are usually repairable in a single visit. If a specific part like a control board or loop detector needs to be ordered, we’ll tell you upfront and give you a timeline. Call (833) 589-8195 to schedule a diagnostic.
A gate that opens but won’t close is usually seeing a safety input that prevents closing. The most common cause in San Diego is a loop detector that thinks a car is still on the driveway, followed by a misaligned or dirty photo eye. Test by cleaning the photo eye lenses and checking that nothing metal is parked over the driveway loop. If it still won’t close, the loop detector or edge sensor likely needs service.
Yes. Our technicians are trained on LiftMaster, FAAC, BFT, and Linear operators, along with Viking, Ghost Controls, DoorKing, Elite, and Mighty Mule. We repair the gate you have rather than pushing a replacement, because brand-agnostic diagnosis means the fix is based on the gate’s needs, not a dealership quota.
A full gate installation includes the physical gate, the operator or motor, the control board, safety sensors (photo eyes and edge sensors), access controls (keypads, remotes, or intercom), and the electrical power run to the operator. We handle the complete scope, from gate installation in Rancho Santa Fe to new construction projects across San Diego. Call (833) 589-8195 for a free measure and written estimate.
Yes. Intermittent failures are solved with data, and the log you’ve kept (temperature, time of day, battery status, what the gate did) makes the diagnosis faster and cheaper. We’ll run the three-layer diagnostic and test each component under load. If the fault isn’t present during the visit, the log tells us where to look. Call (833) 589-8195 to schedule.
The Bottom Line
Gate repair troubleshooting is a discipline, not a list of tips. Every failure belongs to one of three layers: power, control, or mechanical. Diagnosing in that order keeps you from throwing money at the wrong component, and it’s the same framework we use on every gate we touch in San Diego. Most “motor failures” aren’t motor failures at all. They’re safety sensors doing their job, or a GFCI that tripped, or a wire that corroded in the salt air. The gate you have is usually repairable, and the right diagnosis costs less than the wrong replacement. If you’re not sure which layer has failed, call a gate specialist, not a generalist, and explore more guides & resources on our blog to learn more. We’ll work on the gate you have, diagnose the fault, and quote the fix before any work begins.
Written by the team at Cambridge Gate Repair, serving San Diego since 2014.
See the difference
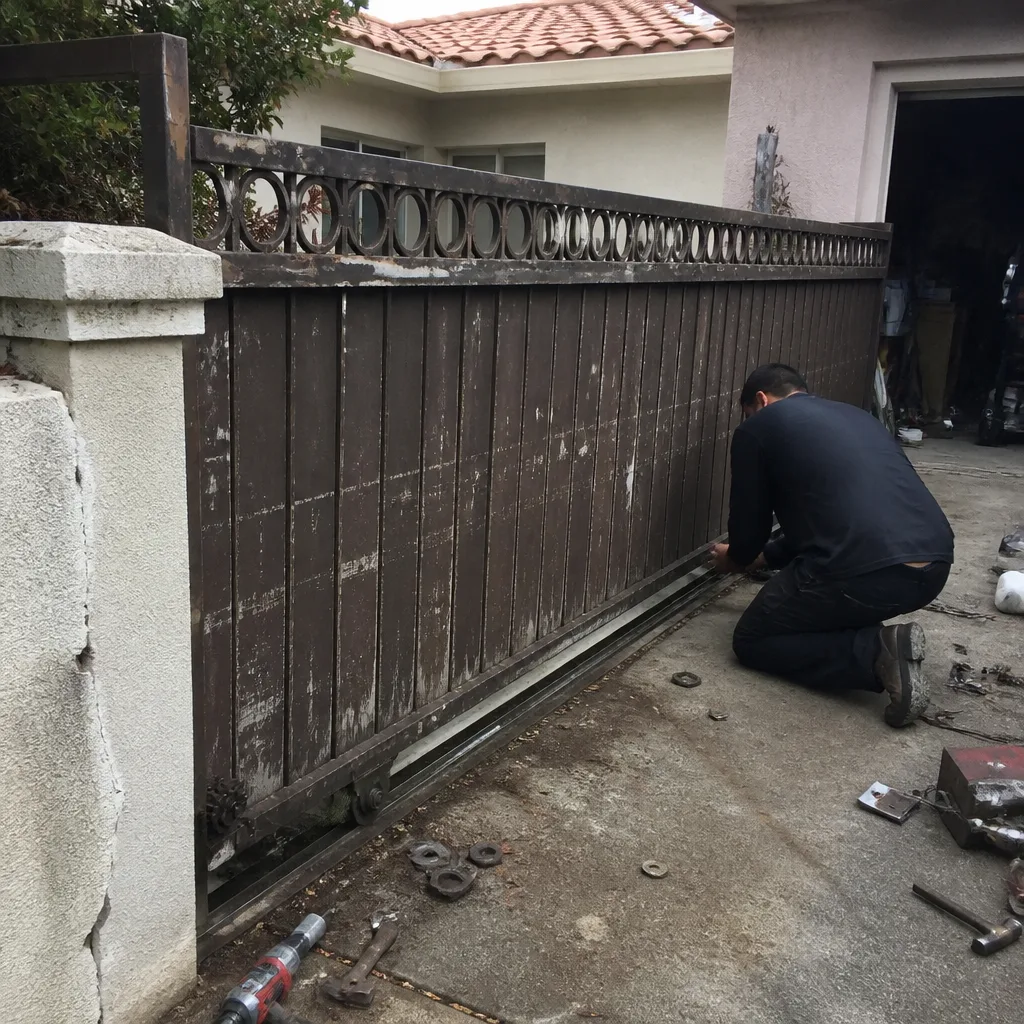 Before
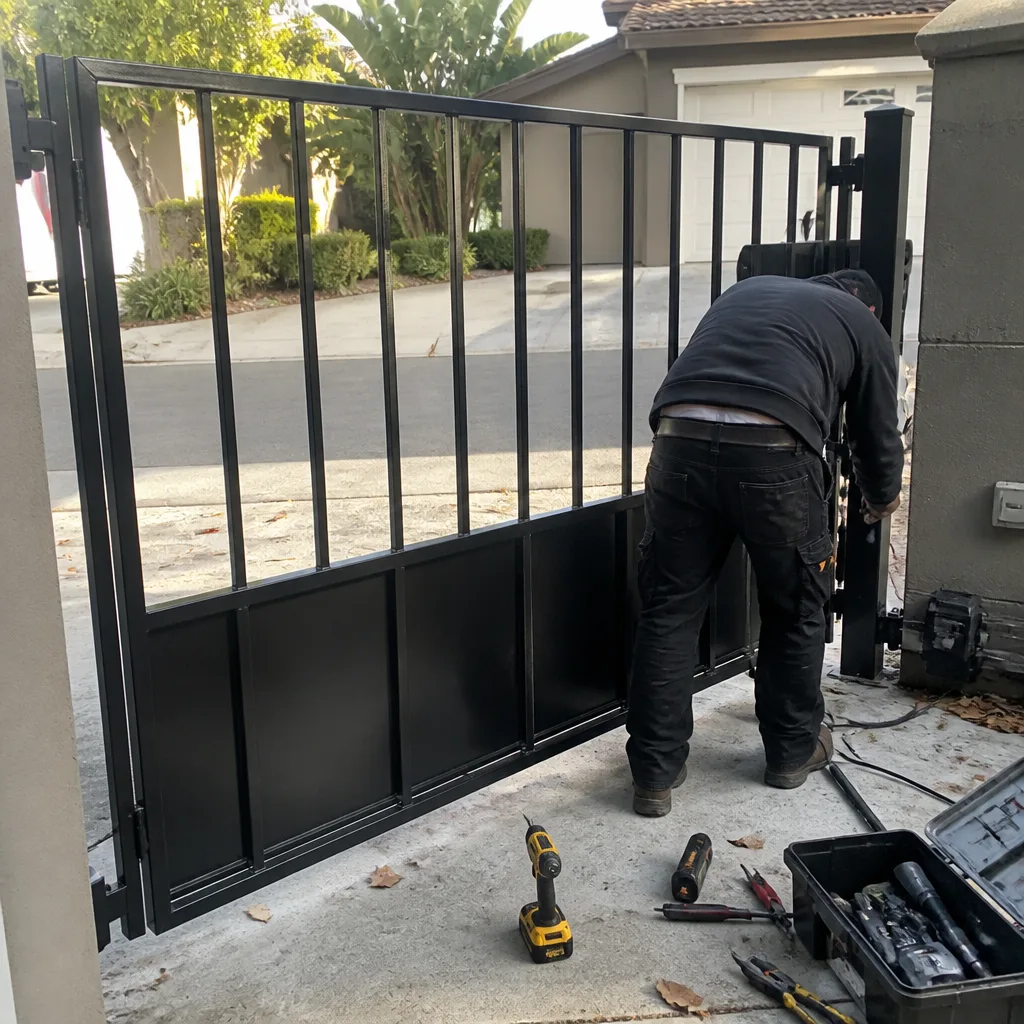 After
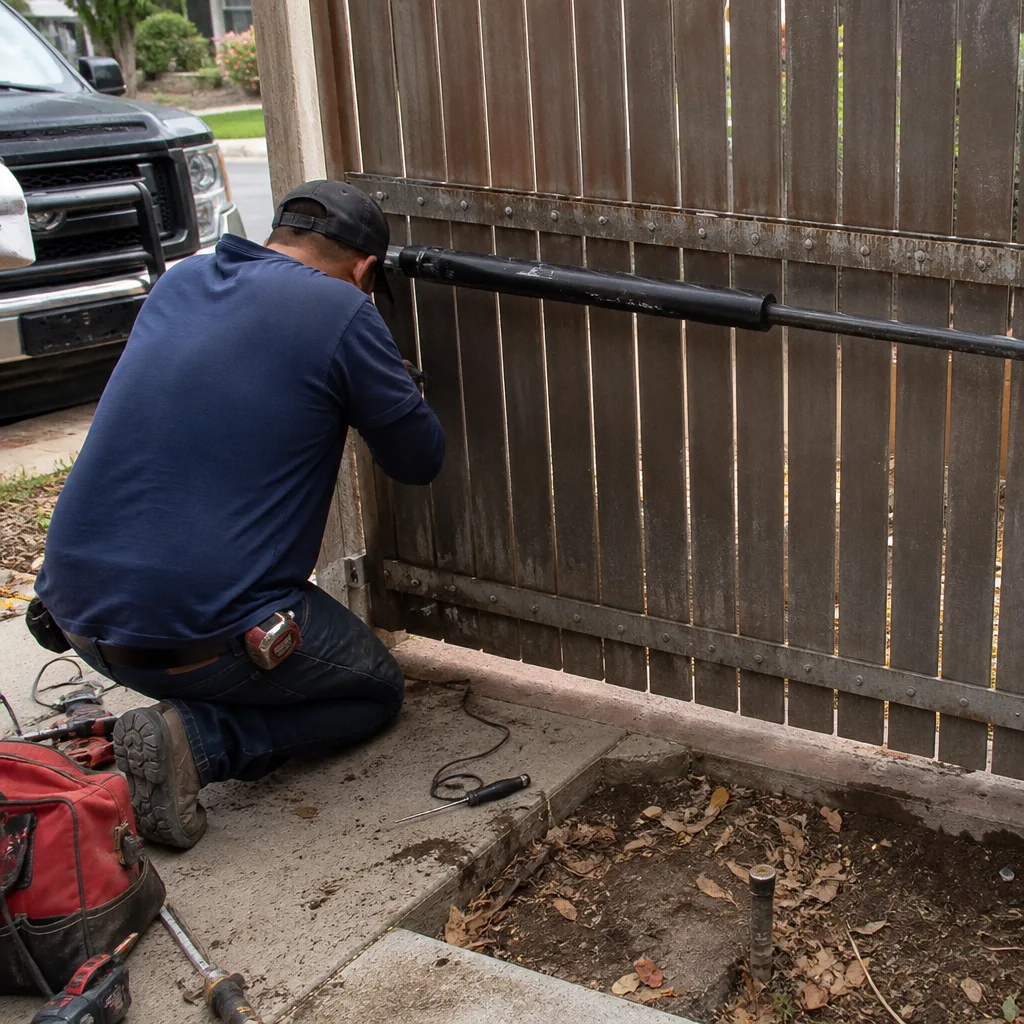 Before
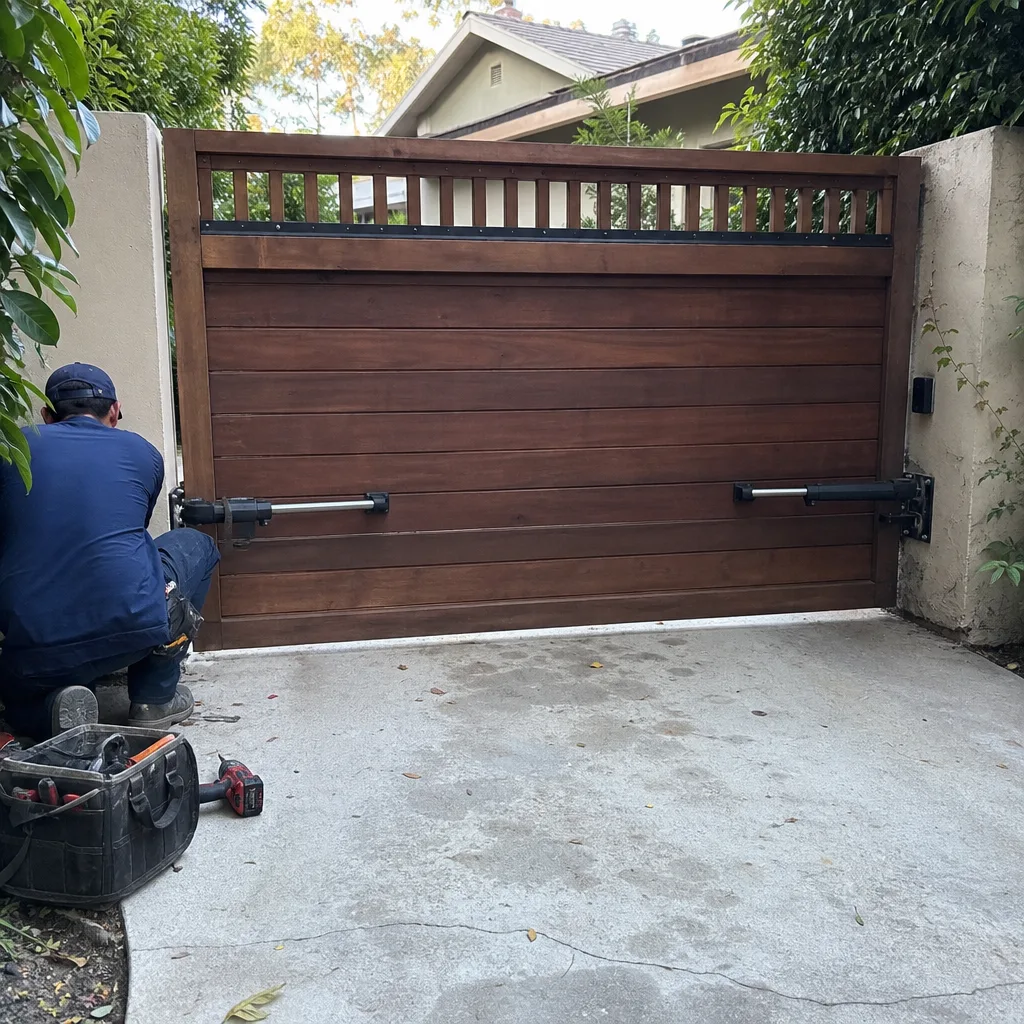 After
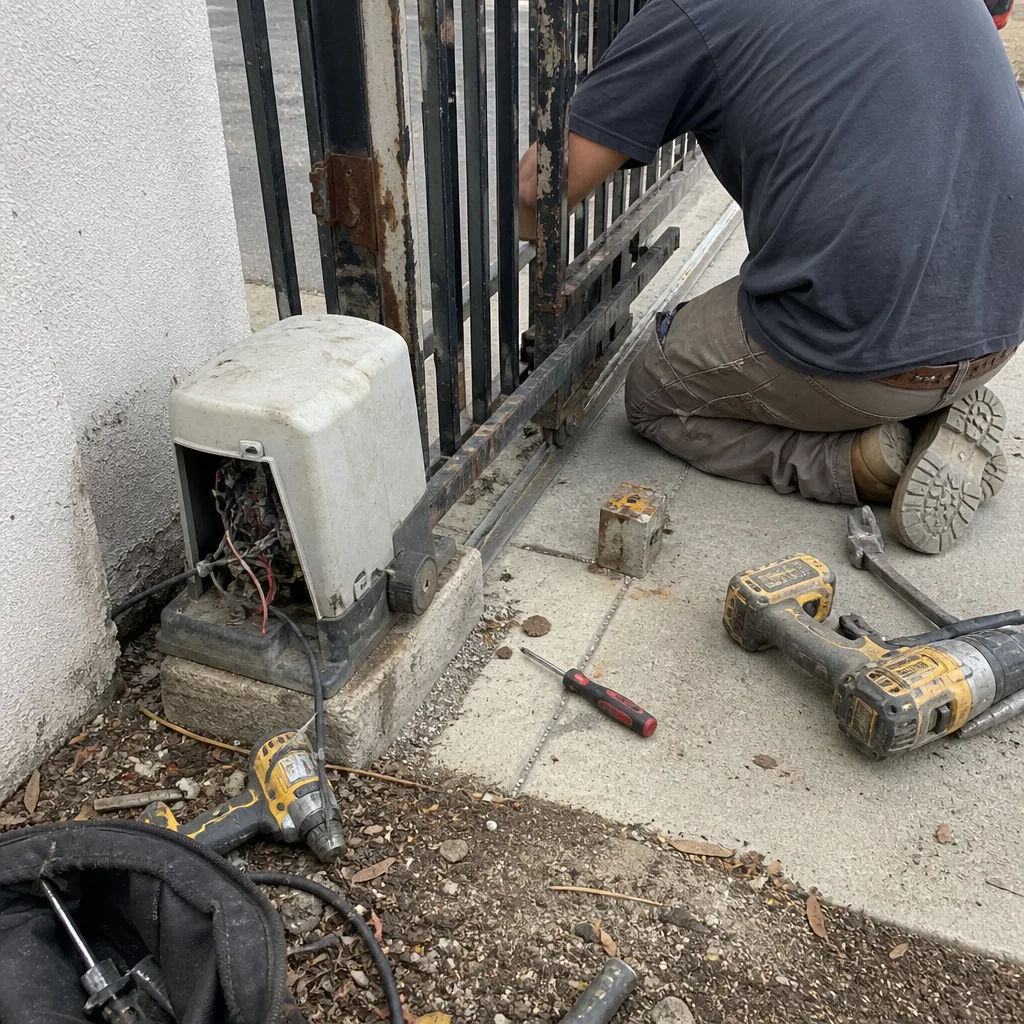 Before
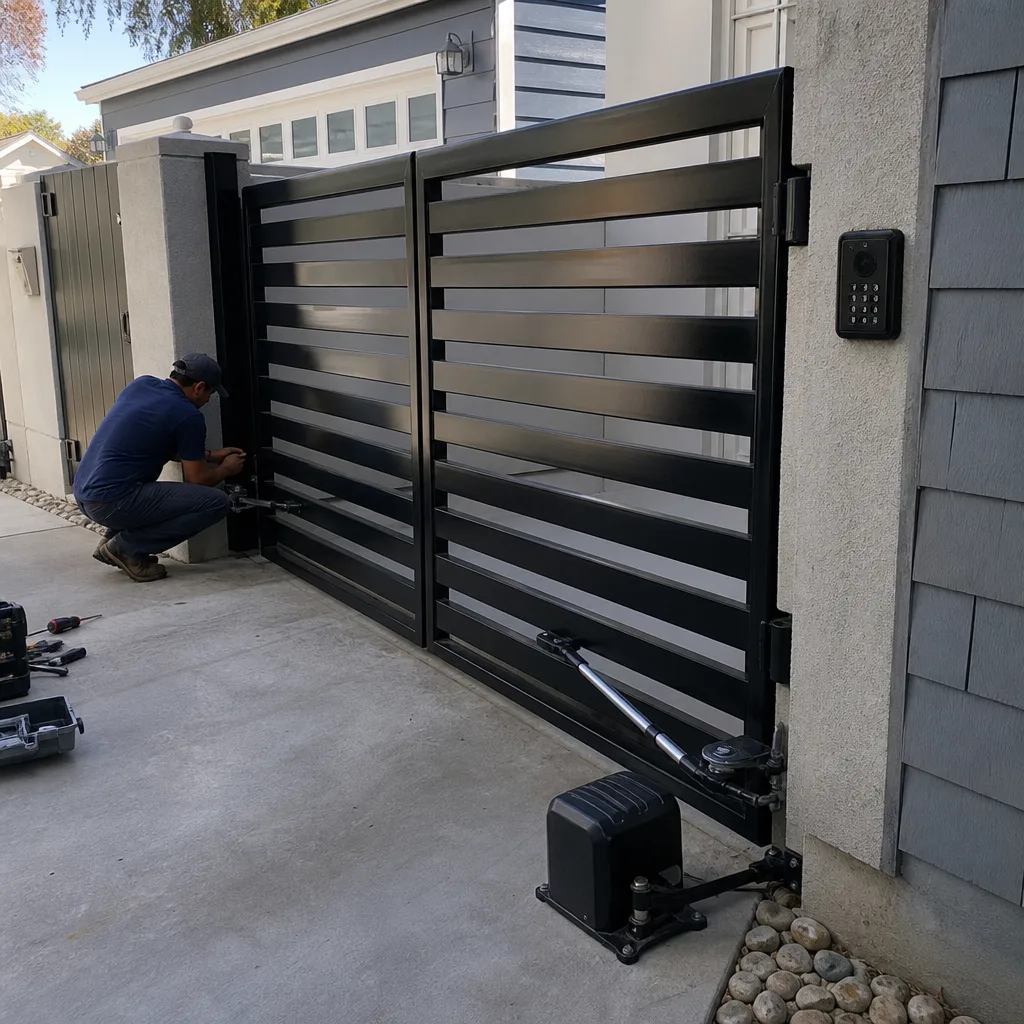 After